Project Desk
Moving house is a good opportunity to get rid of stuff you don’t like. I have been meaning to replace my desk for some time, because it was a crappy bit of MDF from IKEA, that I bought for about £20 in university. Having a new found taste for DIY (and a gradiose sense of my own ability), I decided that I would construct it myself as opposed to buying an overpriced one from a shop.
I came up with some requirements for what I wanted out of my desk. They are as follows:
- Be big;
- Be made of solid wood, not crappy MDF;
- Have storage on the sides for various things;
- Look nice (ish);
- Not break.
So, let’s get on with it. My desk contains the following ingredients:
- 5 planks of treated spruce from Wickes - about £25;
- 2 cabinets from B&Q, out of their “Konnect” range (basically IKEA) - £30;
- 3 IKEA Vika Adils legs - already owned, but about £9;
- Many screws - probably about £5 all in, although I had them all already.
So about £55 new spend, total cost probably about £70. Not too shabby I think, when you consider that Anna’s desk from IKEA, which is solid wood, but is smaller than mine and has no storage, was about £80.
Firstly, I sanded down the wood. I went for softwood because it’s a fair bit cheaper than hardwood, and it’s easy to work with. Is it sturdy enough for my many monitors? Only time will tell, but I think it should be fine.
I sanded down the wood in two stages, firstly with some 100 grade and then with some 120. I would’ve liked to do another pass with some ~200 grade, but I didn’t have any lying around, and it was already pretty smooth so I decided against going out to get some. I was tempted to stain the planks, but I quite like the raw spruce look, even though it is very light. Maybe I’ll stain it if I fancy a change at some point.
Once I had sanded down the planks, I started to put them together to create the desktop.
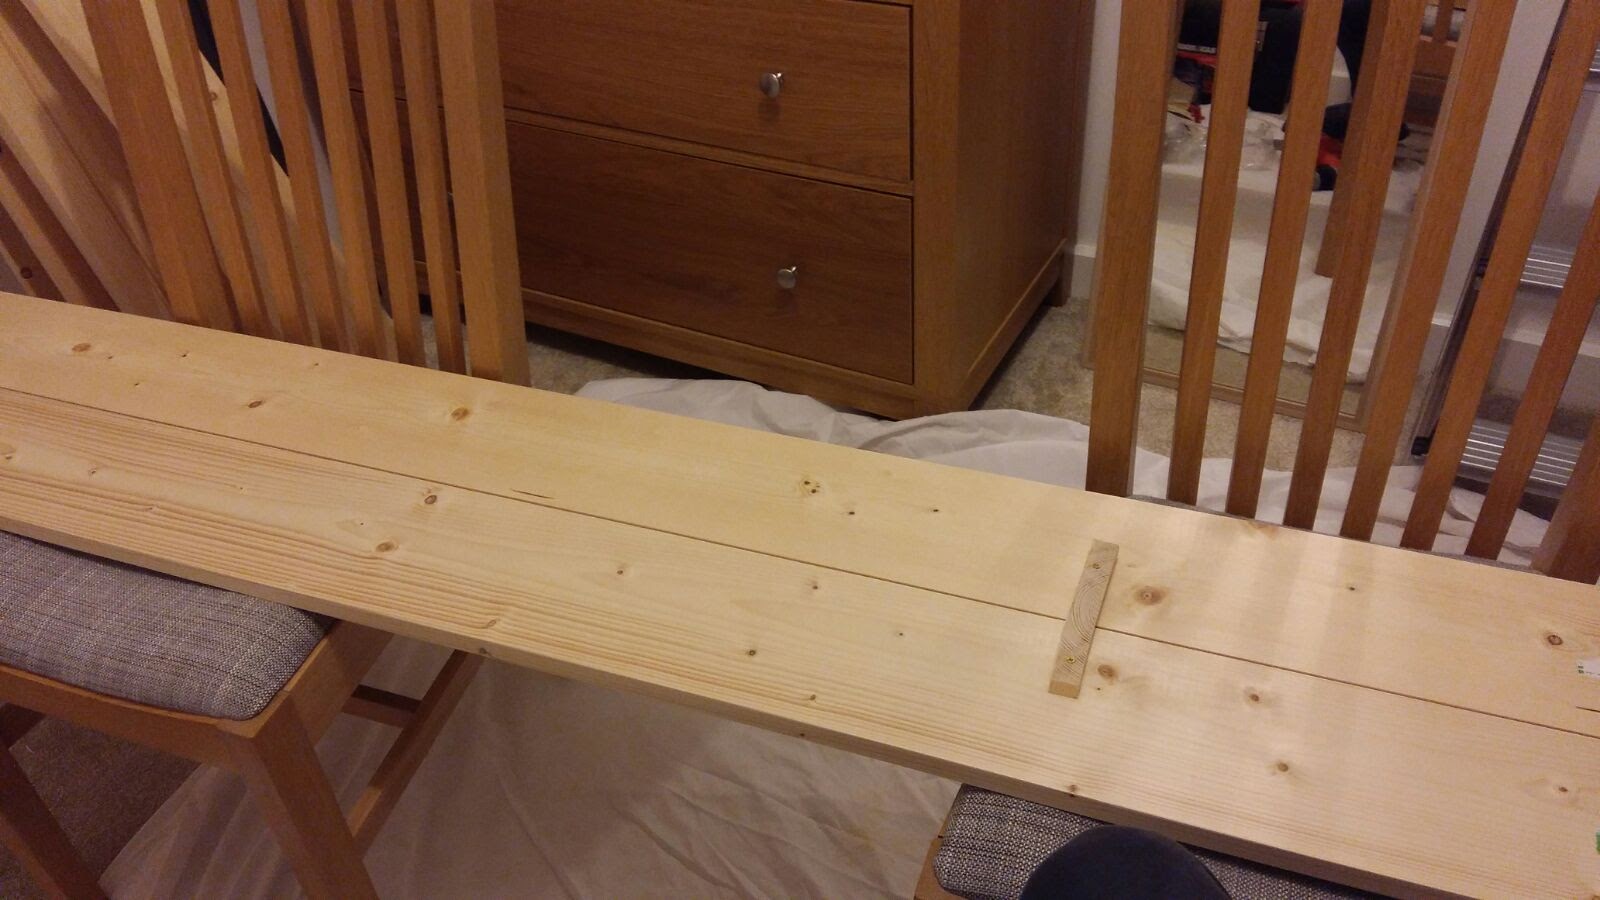
I used some offcuts from some other wood to screw the planks together. I intentionally left slight gaps between the planks, because I thought that would create a nice aesthetic, and to give the planks room to expand if they felt so inclided. The end result of this plank arranging can be seen below.
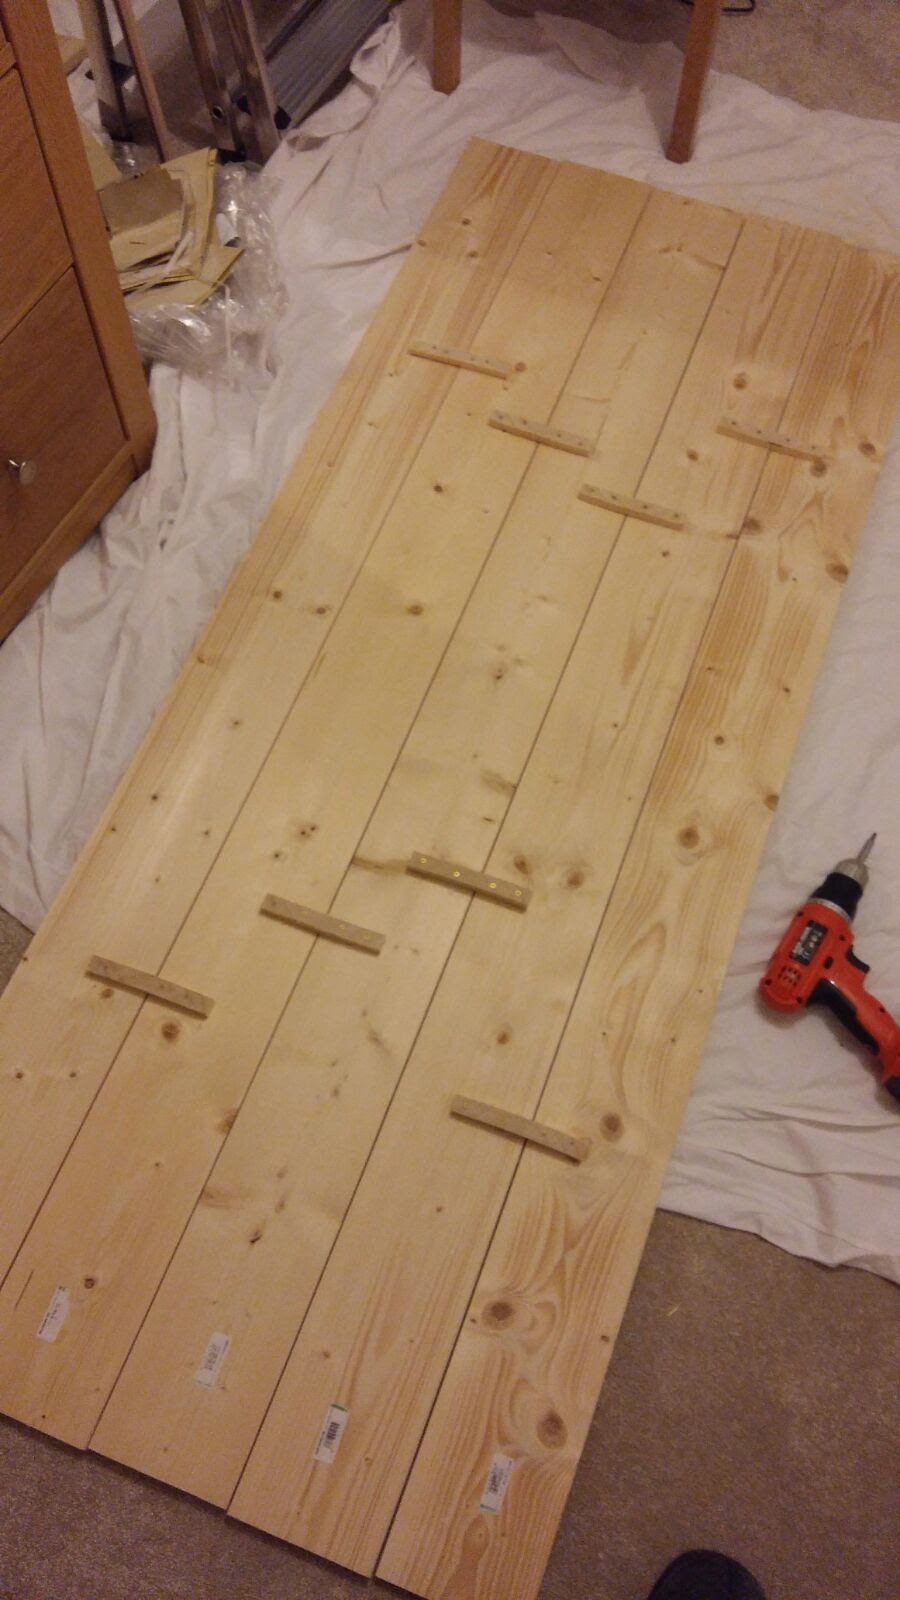
I think it would’ve been better to have some wood going across all the planks, because there wasn’t much rigidity in the strcuture as it was. However, with the legs and the cabinets on, it’s just as sturdy as my old desk was.
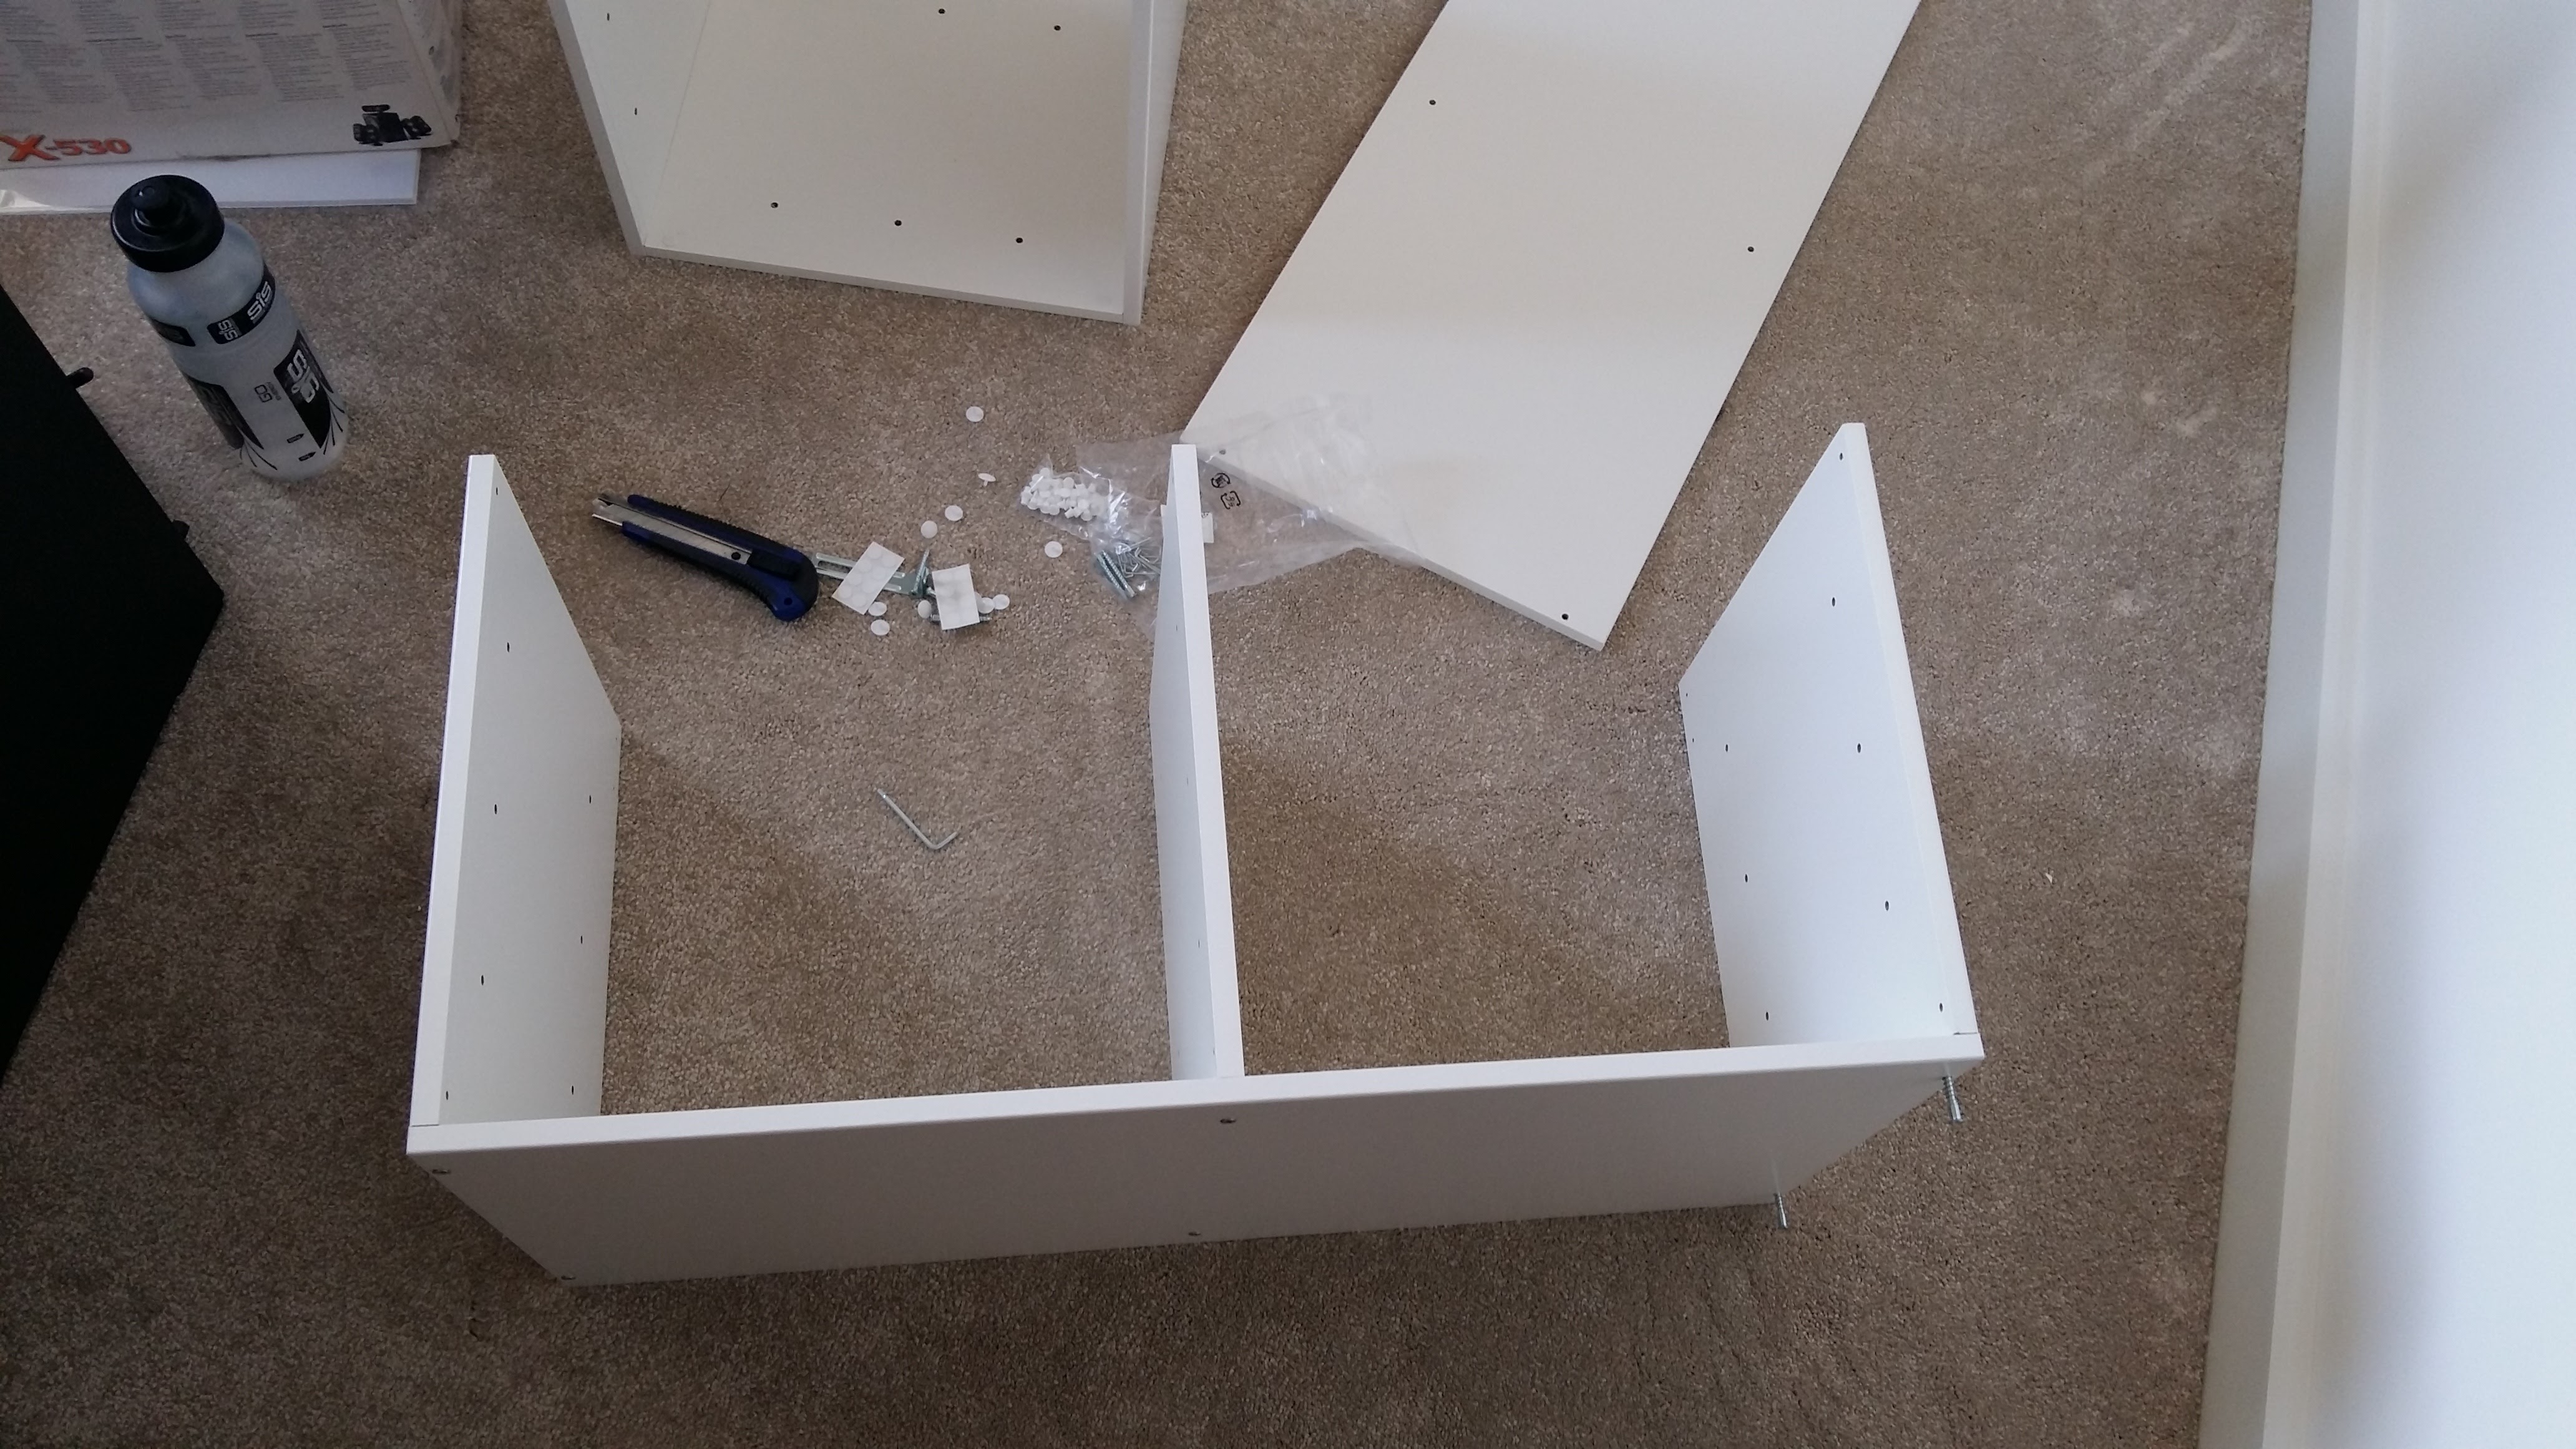
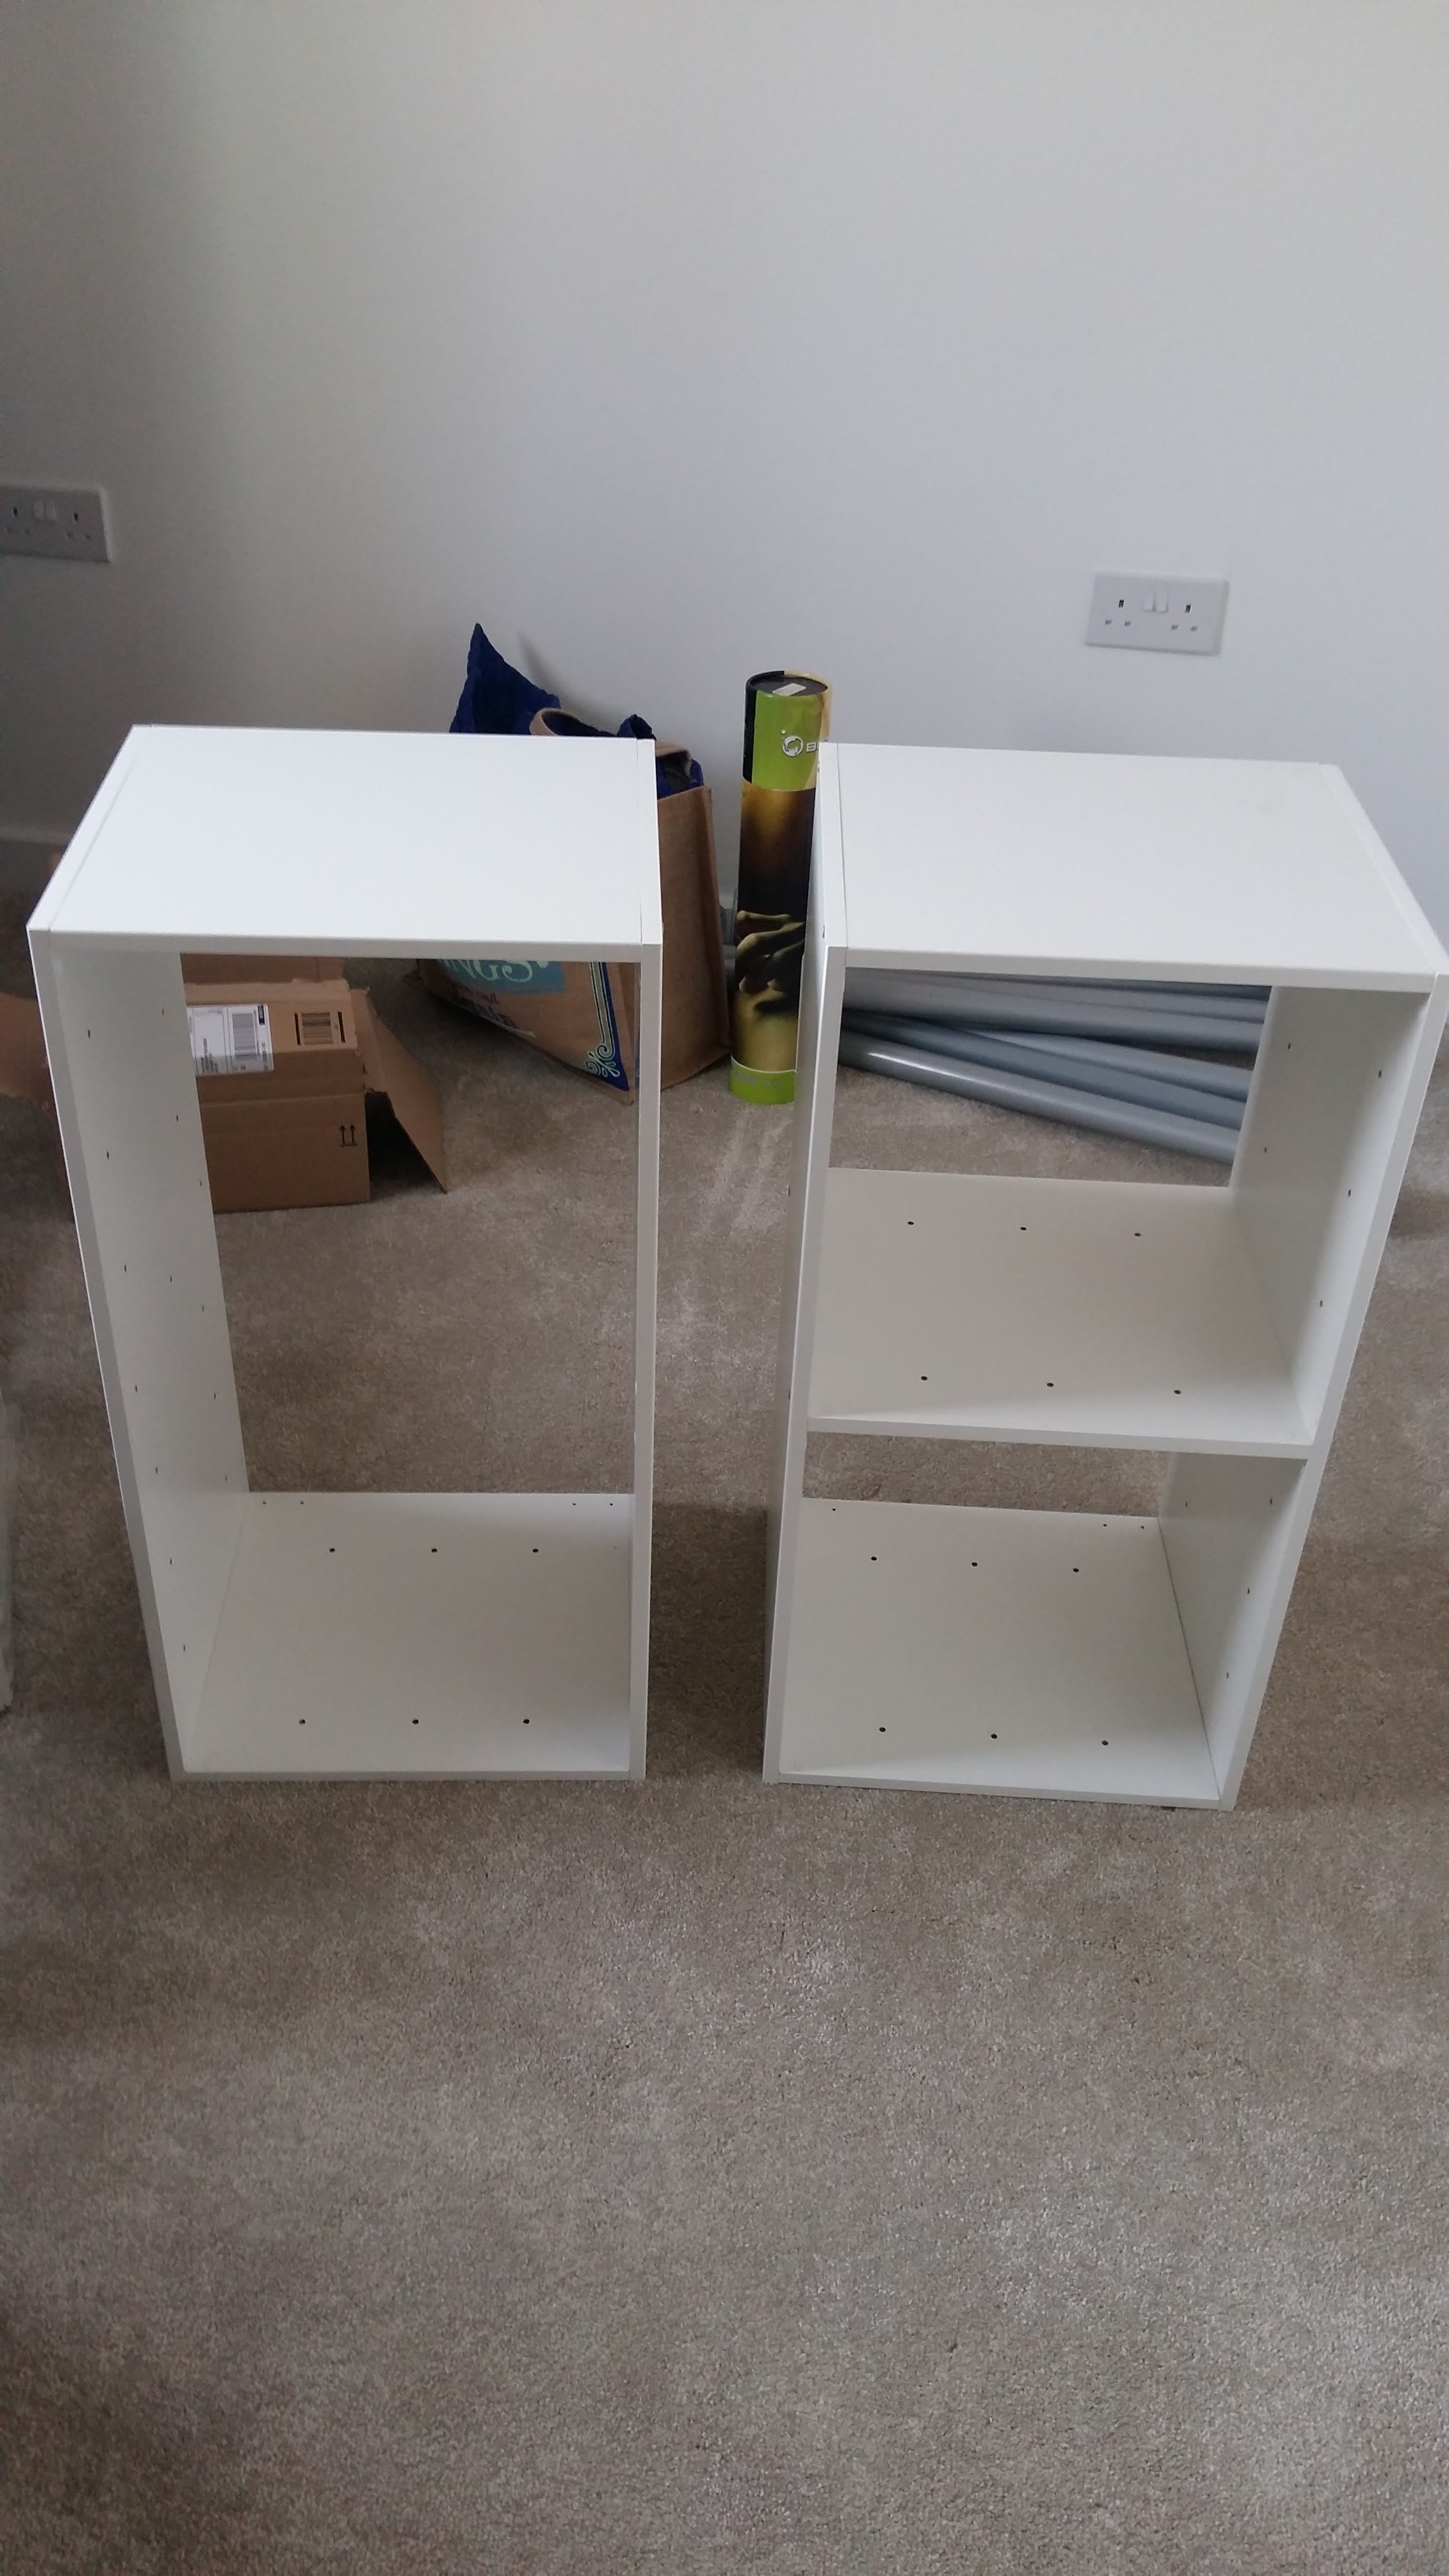
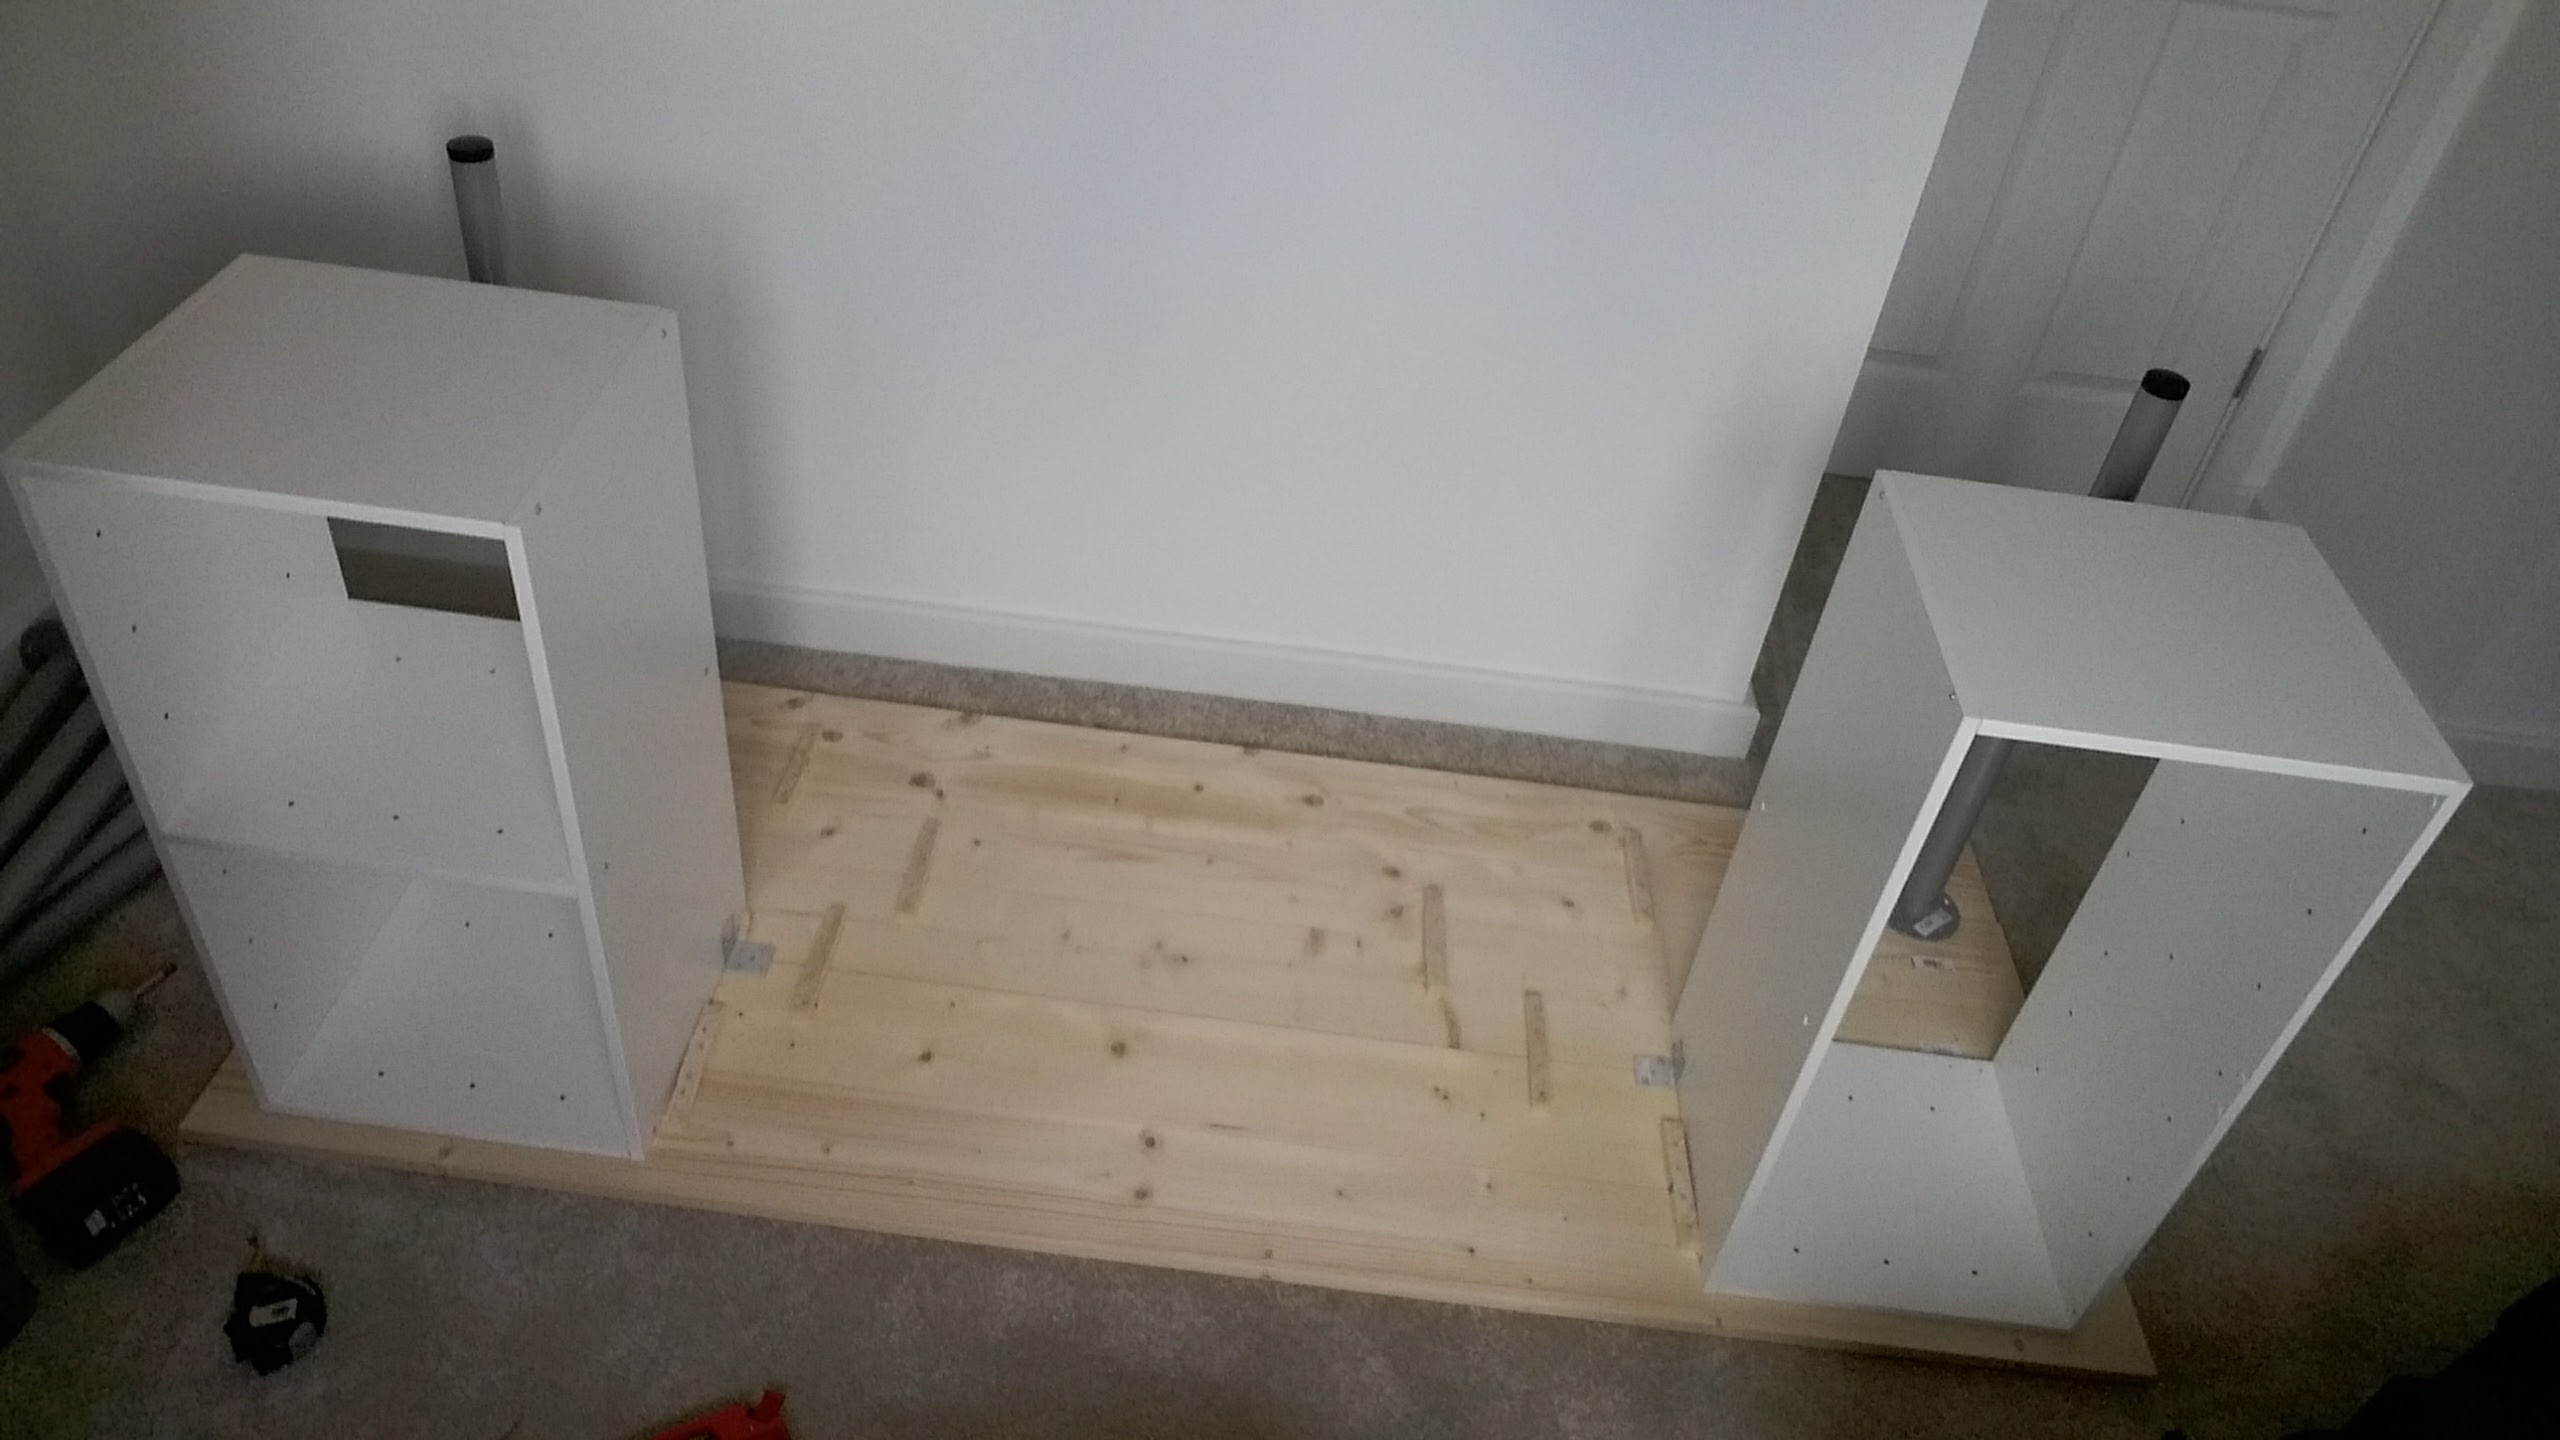
Next, it was time to construct the cabinets. They were mega simple, taking about 10 minutes each to put together - just your standard flatpack stuff.
Now everything was built, it was time to put it together. I originally had a single leg on each back corner (the cabinets were not as deep as the desk, so some support on the rear was needed), but I decided that I would add a leg in the middle for extra support, considering the amount of weight that would go on there.
I secured the cabinets to the planks with some little brackets from B&Q, and secured the legs with screws through the pre cut holes in them. All very straightforward.
Then, time to turn it over and load it up with all my various bits and bobs. Turning it over was easier said than done due to the size of desk, but I managed it with a show of extreme strength and power.
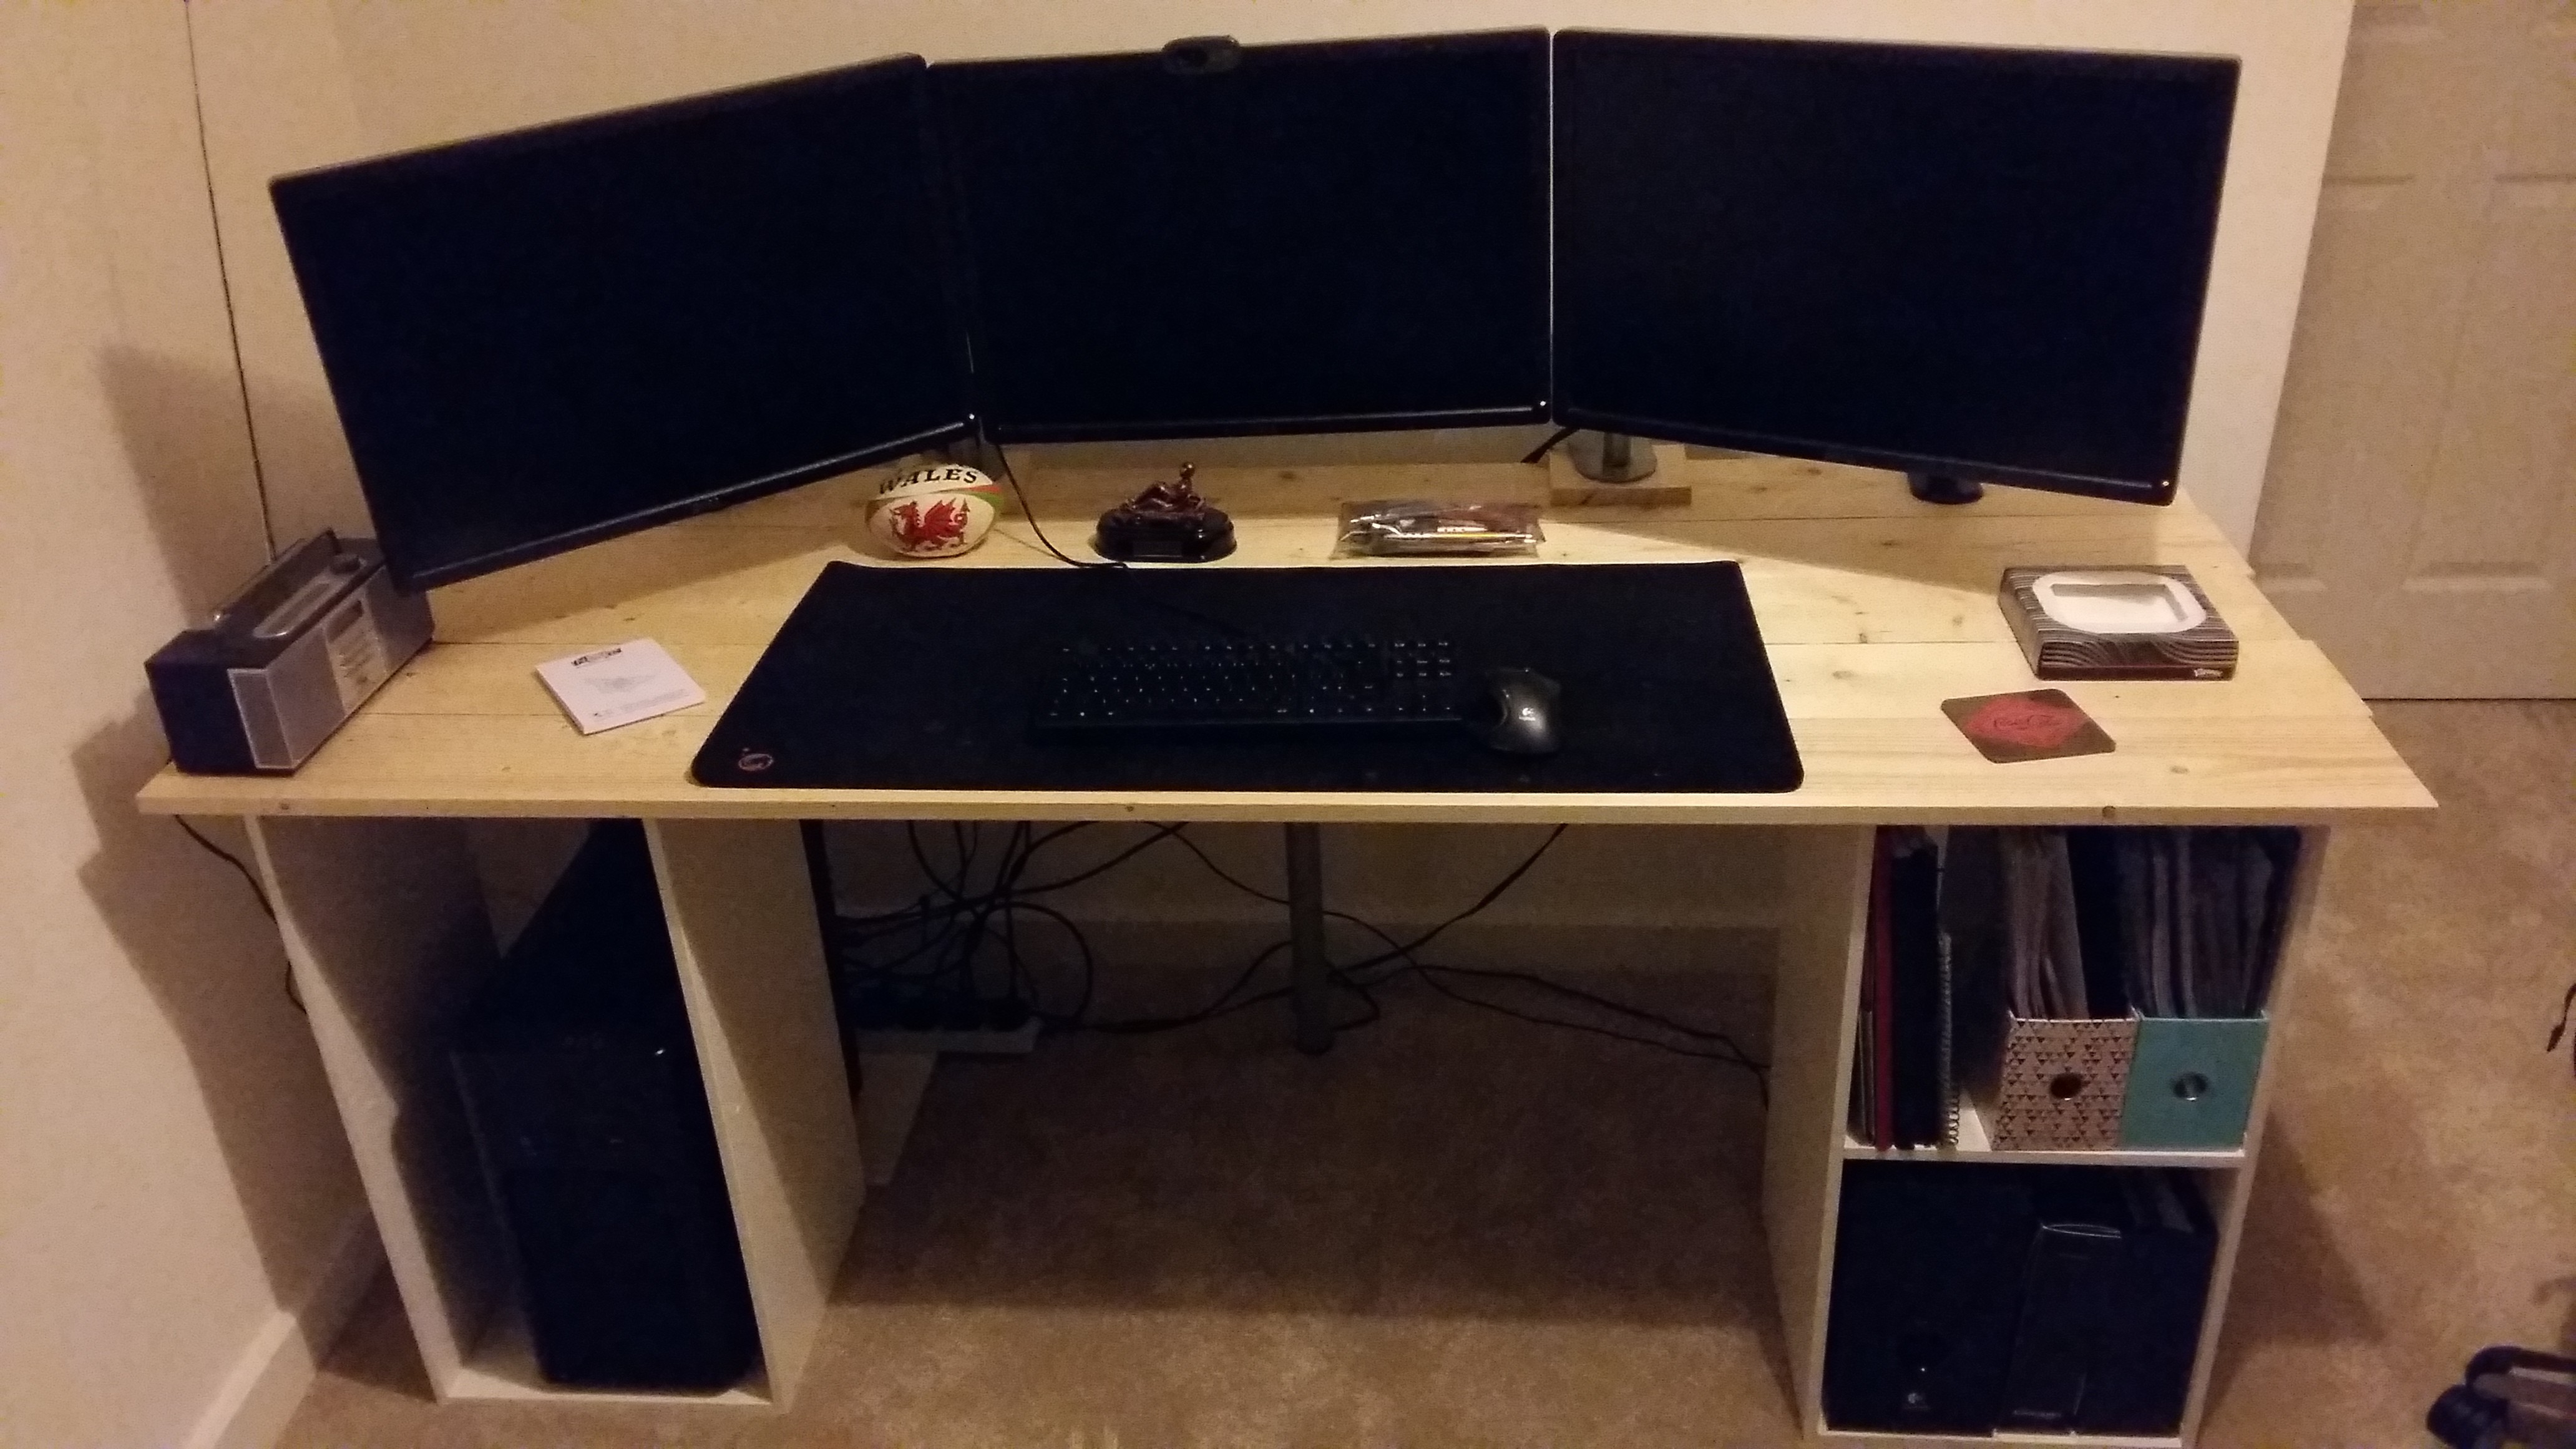
As you can see, I added some offcuts underneath the base of my monitor arms. They dug into the surface of my old desk, and this wood is quite soft so I thought it best to try and stop that from happening again.
So the desk is all done. There are some things I am considering doing to improve it though:
- Tidy the cables at the back. It’s a shambles at the moment!
- Plane the planks down so they are all exactly the same length. I haven’t yet deicided if I like the uneven look or not - I suspect I will decide I don’t like it given my penchant for clean lines in general;
- Sand the wood down more to get a real glass-like finish;
- Replace the middle leg with some structural wooden supports running down along the perpendicular;
- Stain the wood to match Anna’s desk, which is much darker. I quite like it at the moment though, to be honest.
I’m pleased overall though. Look out for future house projects on this blog, which will include Garage Gym, Baller Garden and CAT6 Extravaganza, to name but a few.
Apologies for the poor quality of photo in this post, my phone’s camera is pretty crap. Perhaps I should invest in a nicer one to document my future projects…